A Step-by-Step Guide for a Beautiful Home Upgrade
Want to give your home a classic yet contemporary look? Learning how to install wood flooring can be your ticket to achieving that sophisticated aesthetic. Whether you’re renovating your living space or building from scratch, wood flooring is a timeless choice.
DIY vs. Professional Flooring Installation
While some people prefer hiring professional flooring services, doing it yourself can also be a rewarding experience. This guide will walk you through each step, ensuring you have all the information needed for a successful installation.
Gather Your Materials and Tools
Before you start, you’ll need to gather all necessary materials and tools. Here’s what you’ll need:
- Wood Flooring Planks
- Underlayment
- Adhesive (if required)
- Nails or Screws
- Saw (for cutting planks)
- Measuring Tape
- Pencil
- Hammer or Nail Gun
- Tapping Block and Pull Bar
- Spacers
- Safety Gear (gloves, goggles, etc.)
Preparation
Make sure the subfloor is clean, dry, and level. Remove any old flooring and thoroughly clean the surface. Lay out the underlayment according to the manufacturer’s instructions. The underlayment acts as a moisture barrier and provides a cushion for the wood flooring.
Measure and Cut
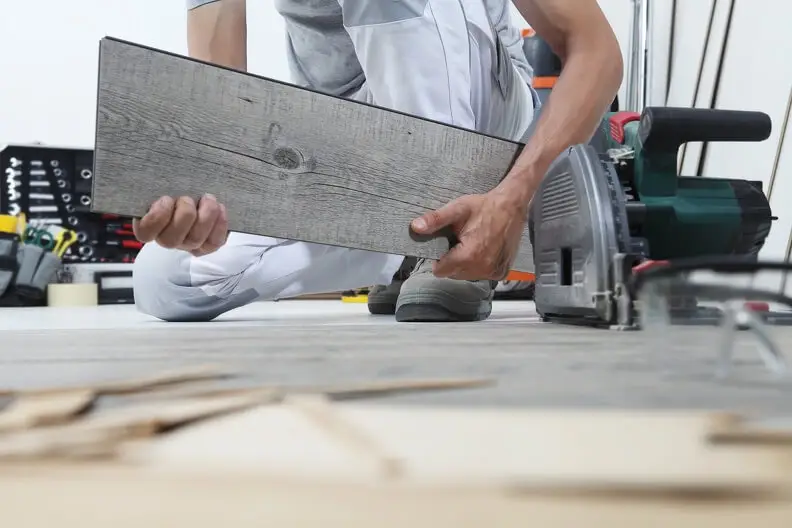
Measure the room to determine the amount of wood flooring you’ll need. Be sure to account for any patterns you plan to lay. Once measured, cut the planks to fit the room’s dimensions using a saw. Remember to leave a small gap between the wall and the planks to allow for expansion.
Installing the First Row
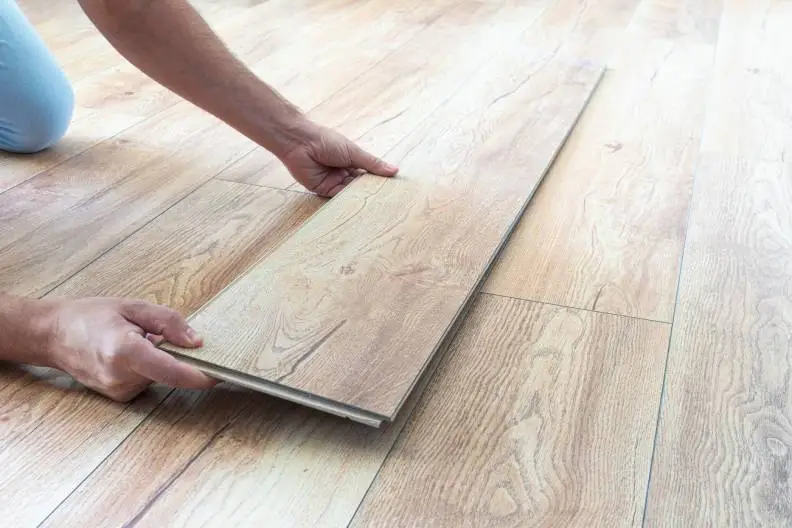
Place spacers along the walls to maintain the expansion gap. Start laying the first row of wood planks, making sure they are straight. Depending on your flooring type, you may need adhesive or nails to secure the planks in place. Use a tapping block and pull bar to ensure tight seams between each plank.
Laying Subsequent Rows
Continue laying each row by locking or gluing them into place as per your plank’s requirements. Stagger the seams between rows for added strength and aesthetics. Use a hammer or nail gun to secure them tightly. Periodically check for alignment and adjust as necessary.
Finishing Touches
Once all planks are laid, remove the spacers. Install baseboards or molding to cover the expansion gaps. Clean up any adhesive spills immediately and let the floor settle for at least 24 hours before moving furniture onto it.
How To Install Wood Flooring: Final Thoughts
Learning how to install wood flooring is an invaluable skill that can dramatically transform your living space. Whether you’re in Silver Spring, MD or elsewhere, Oliver's Home Remodeling LLC is here to assist with high-quality materials and advice. For those who prefer professional help, don’t hesitate to reach out to us at (240) 968-6887. Embrace this DIY project and enhance your home’s beauty today!

